
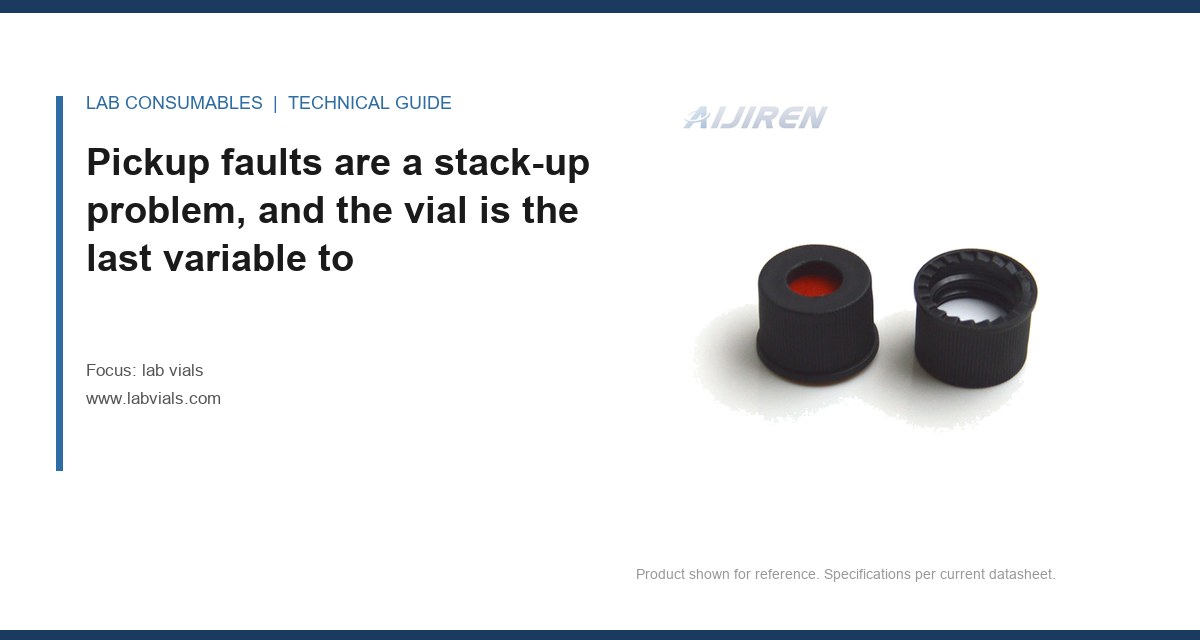
The run stopped at injection 47 with a pickup error on a 1260 Infinity II autosampler, and the analyst’s first move was to blame the vial lot. It was not the lot. The vial tray had been swapped between two stacks the previous week, and one stack sat 1.8 mm lower than the other because the locating pin on the tray floor had never fully seated. The gripper closed on air, the instrument threw a pickup fault, and 47 injections of a validated method went into the trash. That is the shape of most autosampler pickup error and misalignment problems I have investigated: the vial is fine, the fit between vial, tray, and gripper is not. This article is about that fit, and about the error codes each misalignment produces so you can stop guessing which part of the stack moved.
Pickup faults are a stack-up problem, and the vial is the last variable to check
When an autosampler reports a pickup error, the instrument is telling you it did not find what it expected at a specific coordinate. That coordinate is the sum of several tolerances: the tray’s Z-height, the vial’s overall height, the cap’s seated height, the septum’s dome, and the gripper’s own repeatability. Any one of those drifting beyond the gripper’s tolerance window produces the same symptom. The mistake is to treat the vial as the prime suspect because it is the cheapest, most replaceable part in the chain. In my experience the vial is the culprit maybe one time in five. The tray and the cap seating are the other four.
Start by writing down the nominal stack. A standard 2 mL autosampler vial is 32 mm tall to the top of the crimp or screw finish, 12 x 32 mm body, with a 6 mm neck opening. The cap adds roughly 4.5 to 5.5 mm depending on crimp style and septum thickness. So the gripper sees a target somewhere around 36.5 to 37.5 mm above the tray floor. If your tray sits 1.8 mm low, you have just eaten half the gripper’s vertical tolerance before the vial is even in play. Measure the tray first. It is the variable nobody logs.
Tray height and the Z-axis tolerance nobody writes down
Every autosampler has a documented Z-axis pickup window, and it is tighter than most people assume. On Agilent 1260 and 1290 series autosamplers the gripper expects the vial top within a band of roughly +/- 1.0 mm of the taught position. Outside that band you get a pickup error; well outside it you get a crash. The tray locating features, the tray stack height, and the drawer latch all feed into whether you land inside that band. A tray that is 0.5 mm high is fine. A tray that is 2 mm low is a fault waiting for the next run.
I have seen three tray problems that produce pickup faults and nothing else:
- Locating pin not fully seated. The tray sits proud or tilted, and the far corner of the tray is 1 to 2 mm off nominal. Symptom: pickup errors cluster at one end of the tray, not randomly.
- Warped tray from autoclave or dishwasher cycles. Polypropylene trays warp above about 121 °C if they are not dimensionally stabilized. A 1.5 mm bow across a 25-position tray is enough to fault the far row.
- Mixed tray types in one stack. A shallow tray under a deep tray with no spacer changes the Z reference for the whole stack. The instrument was taught against one geometry.
The fix is boring and it works: teach the tray height with a gauge vial, not with a production vial, and log the taught value on the tray. Re-teach after every tray swap. If you run multiple tray types, color-code them and put the taught Z on a label. This is the single highest-yield maintenance habit I have installed in labs running high-throughput sequences.
Gripper tolerance: what the fingers can and cannot forgive
The gripper is more forgiving laterally than vertically, but not by much. A typical two-finger gripper on a modern LC autosampler has a lateral capture window of about +/- 1.5 mm and a vertical window of about +/- 1.0 mm. It also has a closing force and a finger geometry that expects a specific neck diameter. Feed it a vial with a 11 mm crimp neck where it expects 12 mm, or a screw vial with a cap that is not fully torqued, and the fingers close on the cap skirt instead of the neck. The vial lifts, tilts, and drops. That is a vial not found or gripper error depending on the firmware.
Cap seating is where this gets interesting, because it is the one variable the analyst controls directly and the one most often done by hand with no torque reference. A screw cap that is finger-tight is not the same as one torqued to spec. Under-torque and the cap sits 1 to 2 mm high, which pushes the effective vial height up and can put the gripper above its window. Over-torque and you deform the septum, which changes the puncture geometry and, on some instruments, the needle depth reference. I torque screw caps to a defined value, typically 0.6 to 0.9 N·m for a 9 mm screw finish depending on closure design, and I check it with a small torque screwdriver on a sample of ten per batch. Hand-tight varies by 1.5 N·m between operators. That variance is enough to cause intermittent pickup faults that follow the operator, not the lot.
For crimp vials the equivalent variable is crimp height and crimp diameter. A crimp that is too tall lifts the vial in the gripper; a crimp that is too loose lets the cap rock. Target crimp diameter for a 11 mm aluminum seal is typically 11.0 to 11.2 mm measured across the crimp, and crimp height should match the closure’s specification to within about 0.2 mm. A worn crimper jaw drifts on both. If pickup faults appear only on crimp vials and never on screw vials, check the crimper before you check the vial lot.
The error codes each misalignment actually produces
This is the part that saves the most time. The error code tells you which axis failed, and that narrows the suspect list fast. The table below maps the common symptoms to their most likely cause on Agilent and Thermo autosamplers. Codes vary by firmware, but the pattern holds.
| Symptom / code family | Axis that failed | Most likely cause | First check |
|---|---|---|---|
| Pickup error, vial not found | Z (vertical) | Tray height low, cap not seated, vial short | Taught Z vs. measured tray height |
| Gripper error, vial dropped | Lateral + Z | Cap skirt caught, neck diameter mismatch | Cap torque, neck OD |
| Needle bend / needle error | Z + XY | Vial tilted in tray, septum off-center | Vial verticality, septum concentricity |
| Vial height error | Z | Over-tall crimp or cap, wrong vial in position | Crimp height gauge |
| Intermittent pickup, one row only | Z, position-dependent | Warped tray, unseated locating pin | Tray flatness across the row |
Two things to note. First, a needle bend is almost always a misalignment symptom, not a needle defect. The needle went where the instrument thought the septum was, and the septum was not there because the vial was tilted or the cap was off-center. Second, intermittent faults that cluster by tray position are a tray geometry problem, not a vial lot problem. Random faults across positions are more likely cap seating or vial height variance.
Field case 1: the crimp height that ate a sequence
A contract lab running EPA method work on a Thermo autosampler reported pickup errors on roughly 3% of crimp-sealed vials, always in the same tray positions. They had already rejected two vial lots. I asked for the crimper and a height gauge. The crimper jaw had worn; measured crimp height on the problem vials ran 0.4 mm over nominal, and crimp diameter was 11.4 mm instead of 11.1. The over-tall crimp pushed the vial top above the gripper’s vertical window on the positions where the tray was already 0.5 mm high. The vial was in spec on body dimensions. The closure was not. Fix: replaced the crimper jaw, re-set crimp height to spec, and added a ten-vial crimp height check per batch. Pickup errors went to zero. The lesson is that the closure is part of the vial’s fit envelope, and a worn crimper is a fit problem even though it looks like a tooling problem. If you buy pre-crimped or need matched closures, the septa and caps you pair with the vial determine the top of the stack.
Field case 2: the tray that was 1.8 mm low
The opening scene. A pharma QC lab on an Agilent 1260 had pickup errors that started after a tray swap and got worse over a week. Measured tray height with a gauge vial was 1.8 mm below the taught value. The locating pin on the tray floor had a burr from a previous drop and never fully seated. The instrument had been re-taught against the wrong tray, so the taught value was also wrong, which is why re-teaching alone did not fix it. The fix was to deburr the pin, seat the tray, re-teach with a gauge vial, and log the taught Z on a label. The lab also stopped swapping trays between instruments without re-teaching. That single procedural change eliminated a recurring class of faults. The vial lot was never the problem, and the two rejected lots were reinstated after re-test. This is why I keep saying: start with the instrument and the tray, not the vial.
Vial verticality and septum concentricity: the fit you cannot see
A vial can be within its body dimensions and still fail to sit vertical in the tray. The failure mode is a base that is not flat, or a body that is oval enough to bind in the tray well. On a 12 x 32 mm vial, base flatness matters more than most people think: a base that is 0.3 mm out of flat tilts the vial enough at the neck to move the septum center by roughly 0.5 mm. That is half the needle’s lateral margin. The needle then enters off-center, the septum cores unevenly, and you get a needle bend or a pickup fault depending on where the tilt points. Base flatness and verticality are controlled at the glass tubing and molding stage, which is why the lab vials you source should come with a dimensional report that includes base flatness, not just height and OD.
Septum concentricity is the other invisible fit variable. A septum that is 0.4 mm off-center in the cap moves the puncture point off the needle’s expected path. On instruments that use the septum as a depth reference, this shows up as a needle error even though the vial is perfectly seated. If you run a lot that faults only on needle errors and never on pickup, check septum concentricity and cap centering before you touch the tray. Pre-assembled caps from a supplier with tight centering control, like the Aijiren line, reduce this variable because the cap and septum are assembled to a fixture rather than by hand.
A fit-and-alignment troubleshooting checklist
Work top-down, instrument to vial. Stop at the first measurement that is out of spec.
- Tray height. Measure with a gauge vial at the taught position. Compare to the taught Z logged on the tray. Tolerance: +/- 1.0 mm.
- Tray flatness. Check across the full tray. Any position more than 0.5 mm off the reference is a warp or seating problem.
- Locating features. Inspect pins and wells for burrs, debris, and partial seating. Re-seat and re-measure.
- Gripper. Confirm finger closing on the neck, not the cap skirt. Check lateral capture against a known-good vial.
- Cap torque. Ten-vial sample, torque screwdriver, target 0.6 to 0.9 N·m for 9 mm screw finish. Flag any operator outside the band.
- Crimp height and diameter. Ten-vial sample per batch. Crimp diameter 11.0 to 11.2 mm, height to closure spec within 0.2 mm.
- Vial height. Sample ten from the lot. 32 mm nominal, flag anything outside +/- 0.2 mm.
- Base flatness and verticality. Roll test on a flat plate, or gauge. Flag base flatness worse than 0.3 mm.
- Septum concentricity. Visual and gauge check on pre-assembled caps. Flag off-center beyond 0.2 mm.
If steps 1 through 4 pass and step 5 through 9 pass, the fault is in the instrument’s taught position or firmware, not the consumable. Re-teach and re-run. If you are sourcing new vials or closures, ask for the dimensional report that covers base flatness, verticality, and septum centering. The VOA vial and autosampler formats both benefit from that documentation because the fit envelope is the same problem in a different body.
What to specify so the fit problem does not come back
The specification that prevents pickup faults is not the vial height alone. It is the whole fit envelope, written down and measured. Ask your supplier for four things: body height to +/- 0.2 mm, base flatness within 0.3 mm, neck OD within 0.1 mm, and septum concentricity within 0.2 mm on pre-assembled caps. Add a crimp or torque spec for the closure you use, and put the taught tray Z on every tray. Those five numbers cover the failure modes in this article. For method-specific container requirements, the EPA SW-846 series and the instrument vendor’s autosampler manual are the references that actually reach the tray geometry; the vendor documentation from Agilent, Thermo Fisher, and the technical notes at Restek give you the taught-position tolerances for specific models.
The decision rule is this: when an autosampler reports a pickup or misalignment fault, measure the tray height and the cap seating before you open a new vial lot. If the tray is within +/- 1.0 mm of the taught Z and the caps are torqued or crimped to spec, then and only then does the vial become the suspect. Most labs invert that order, reject good lots, and keep the real cause in service. Fix the fit first. The vial is almost never the part that moved.
References & further reading
Related resources from our lab consumables network:
- Lab Vials at labvials.com
- Aijiren Brand at aijirenvials.com
- Voa Vial at voavial.com
- Septa at septacaps.com
External references and standards: