
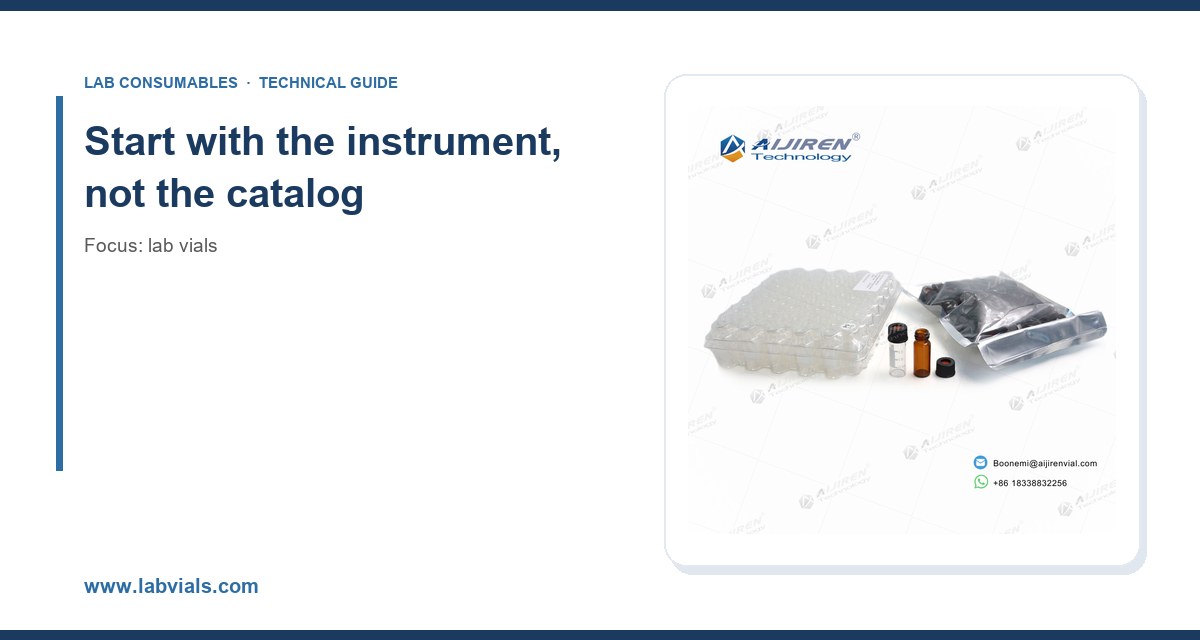
I have watched a postdoc ruin three weeks of LC-MS data because the autosampler kept picking up the wrong layer from a vial that had been filled to the shoulder. I have also seen a purchasing department save 14 cents per unit on glass only to spend four figures replacing a cracked lot mid-study. Vial selection looks trivial until it isn’t. What follows is the checklist I actually use when I specify vials for a lab, written from the buyer’s side of the table and the bench side of the autosampler.
Every vial decision begins with a physical constraint. Before you open any supplier list, write down four numbers for each instrument in your lab: the autosampler’s vial plate format, the maximum vial height the gripper can handle, the needle depth at the bottom of the stroke, and the sample volume the method actually needs. If you cannot answer all four, you are guessing, and guessing is how you end up with 2 mL vials that sit 1.5 mm too tall for a tray that was designed for a different generation of the instrument.
The three formats you will meet in almost every lab are 2 mL (12 x 32 mm) for HPLC and GC autosamplers, 4 mL (15 x 45 mm) for larger injection volumes and some fraction collectors, and 1.5 mL or 2 mL microcentrifuge-style vials for benchtop work and small-volume storage. Beyond that you have headspace vials at 10 mL and 20 mL, crimp-top GC vials, and the 40 mL volatile organic analysis (VOA) vials used under U.S. EPA SW-846 test methods. Each format has a closure standard, and getting the closure wrong is the most common reason a perfectly good vial fails in service.
Autosampler geometry is unforgiving
A 12 x 32 mm vial is not a generic object. The critical dimensions are the outer diameter (should be 12.00 mm plus or minus 0.20 mm), the height (32.00 mm plus or minus 0.30 mm), and the neck finish. A vial that is 0.4 mm too wide will jam a carousel. A vial that is 0.5 mm too short will sit below the needle stroke and the autosampler will draw air. If you are running an Agilent 1260 or 1290 autosampler, the tray geometry is specified in the instrument manual and the tolerances are tight; check the Agilent chromatography consumables and columns documentation for the exact format your tray accepts before you commit to a lot size.
Thermo autosamplers have their own quirks. The TriPlus and Vanquish families accept slightly different vial heights depending on the tray insert, and the Thermo Fisher chromatography and sample handling pages list the compatible part numbers. Buy the vial that matches the tray, not the tray that matches the cheapest vial.
Glass, plastic, or something in between
Borosilicate glass (Type I, USP <660> classification) is the default for HPLC and GC because it is inert, transparent down to about 340 nm, and does not leach plasticizers into your sample. For UV detection below 340 nm, glass is essentially mandatory; polypropylene absorbs strongly in the low UV and will destroy your baseline. For fluorescence and most mass spec work, glass is still the safe choice unless you have a specific reason to switch.
Polypropylene (PP) vials are cheaper, unbreakable, and fine for storage, but they are not inert. PP can adsorb hydrophobic analytes at low concentrations, and it can release oligomers into aqueous samples over time. I use PP for sample prep intermediates and short-term storage, not for final analysis of trace organics. Polyethylene terephthalate (PET) is worse for analytical work; it is a packaging material, not a lab material. Polystyrene (PS) is acceptable for some colorimetric assays but will craze with many solvents.
There is a middle path: glass vials with a silanized (deactivated) interior. These are worth the premium when you are working with basic compounds, proteins, or anything that sticks to bare glass. The silanization adds roughly 20 to 30 percent to unit cost and typically reduces adsorption losses of basic analytes by an order of magnitude in my experience.
When amber matters
Amber glass blocks light below about 500 nm and protects photosensitive compounds (vitamins, some antibiotics, many natural products). The cost premium over clear glass is small, typically 5 to 10 percent. If your analyte has any aromatic or conjugated system, and your samples sit in an autosampler tray for hours, amber is cheap insurance. I default to amber for anything that will sit in a queue for more than 30 minutes.
Closures, septa, and the puncture budget
The closure is where most vial failures happen. There are three common closure types:
- Crimp top (11 mm or 20 mm aluminum crimp). Best seal integrity, lowest evaporation, but requires a crimper and cannot be reopened without destroying the seal. Use for GC, headspace, and long-term storage.
- Screw top (9 mm short thread, 13-425, 15-425, 18-400, 24-400). Reopenable, no tooling, and the standard for HPLC autosamplers. Torque matters: 9 mm screw caps should be tightened to roughly 0.5 to 0.8 N·m; over-torquing deforms the septum and causes coring.
- Snap top. Fast, but the seal is less reliable and the cap can pop off under vacuum. Fine for benchtop storage, not for autosamplers.
The thread standard matters. 9 mm short thread is the dominant HPLC autosampler format today. 13-425 is the classic 4 mL format and still common on older instruments and fraction collectors. 18-400 and 24-400 are for larger storage bottles. The Glass Packaging Institute (GPI) 400-series and the ISO 4796 series define the thread dimensions; if a supplier cannot tell you which standard their thread follows, that is a red flag.
Septa: the part you will replace most often
A septum is a small disc of elastomer that seals the vial and gets punctured by the needle. The three elastomers you will actually use are:
- Silicone (usually silicone with a PTFE face). Excellent resealing, wide temperature range (roughly -60 to +200 °C), but high bleed in GC. The PTFE face is what touches the sample; the silicone provides the reseal.
- PTFE/silicone laminated. The workhorse for HPLC. PTFE on the sample side, silicone core. Puncture count is typically 5 to 10 punctures before coring becomes a problem.
- Butyl rubber. Low gas permeability, good for headspace and long-term storage, but poor resealing after multiple punctures. Use for single-puncture headspace work.
I keep a stock of septa in three configurations: PTFE/silicone for routine HPLC, silicone for high-temperature work, and butyl for headspace. If you are running more than 10 injections per vial, use a pre-slit septum or switch to a larger vial with a fresh septum every 8 to 10 punctures. Coring shows up as ghost peaks in the chromatogram and, eventually, as a blocked needle.
Temperature ratings you should memorize
Standard borosilicate glass is rated to about 500 °C for short-term use; the practical limit for autosampler work is the septum, not the glass. Silicone septa are good to about 200 °C. PTFE is good to about 260 °C. PP vials are good to about 120 °C and will deform above that. If your method runs the autosampler tray at 4 °C, check that the septum does not stiffen and fail to reseal; silicone gets hard below about -40 °C, and most refrigerated trays sit at 4 to 10 °C, which is fine.
A buyer’s decision matrix with real numbers
Here is the comparison I use when specifying vials for a new method. The numbers are the ones I have found reliable across multiple suppliers; treat them as starting points and verify against your own lot.
- 2 mL clear glass, 12 x 32 mm, 9 mm screw thread, PTFE/silicone septum: 100 to 300 µL working volume, 5 to 10 punctures, -60 to +200 °C, ~$0.10 to $0.25 per unit at 10,000-unit volume. Default for HPLC.
- 2 mL amber glass, same format: same specs, 5 to 10 percent price premium. Use for photosensitive analytes.
- 2 mL clear glass, 11 mm crimp, butyl septum: 100 to 500 µL, single puncture, -40 to +150 °C, ~$0.08 to $0.20 per unit. Use for GC and headspace.
- 4 mL clear glass, 15 x 45 mm, 13-425 screw thread: 1 to 3 mL working volume, 10 to 20 punctures, ~$0.20 to $0.45 per unit. Use for larger injection volumes and fraction collection.
- 20 mL headspace vial, 23 x 75 mm, 20 mm crimp, butyl/PTFE septum: 5 to 15 mL working volume, single puncture, -40 to +150 °C, ~$0.30 to $0.60 per unit. Use for headspace GC.
- 40 mL VOA vial, 27.5 x 95 mm, 24-400 screw thread, PTFE/silicone septum: 20 to 35 mL working volume, ~$0.50 to $1.20 per unit. Required format for SW-846 volatile organics.
- 1.5 mL PP microcentrifuge tube: 0.2 to 1.4 mL, unlimited punctures (no septum), -80 to +120 °C, ~$0.03 to $0.10 per unit. Use for sample prep, not analysis.
Add 15 to 25 percent to the per-unit cost for silanized or deactivated interiors, and 10 to 20 percent for certified low-particle or low-extractable lots. If your method has a detection limit below 1 ppb, the certified lot is not optional.
Working principles: why the vial is part of the measurement
A vial is not a passive container. It is a component of the sample path, and it affects three things: the concentration of analyte that reaches the needle, the amount of contamination that reaches the detector, and the stability of the sample between prep and injection.
Adsorption is the first problem. Basic compounds (amines, some pharmaceuticals) stick to the silanol groups on bare glass. The loss can be 5 to 30 percent at low concentrations and it is worst at the bottom of the vial, which is exactly where the needle goes. Silanized vials solve this. So does adding a small amount of a competing amine (triethylamine at 0.1 percent) to the diluent, but that changes the method and needs validation.
Leachables are the second problem. Glass is not perfectly inert; it releases sodium, calcium, and trace metals over time, especially at high pH. If you are doing trace metal analysis or working at pH above 8, use PP or PTFE-lined vials, or pre-rinse glass vials with dilute nitric acid. Plastic vials release plasticizers (phthalates, adipates) that will show up in GC-MS. There is no perfect material; there is only the material that is right for your analyte.
Evaporation is the third problem. A loosely capped vial in a tray at room temperature will lose 1 to 3 percent of its volume per hour, more for volatile solvents. Crimp tops lose less than screw tops; screw tops with a properly torqued cap lose less than hand-tightened caps. If your run is longer than 8 hours, weigh a filled vial before and after to see what you are actually losing.
Operational precautions that save data
Fill vials to no more than 75 to 80 percent of nominal volume. A 2 mL vial holds about 1.5 mL safely; fill it to 1.8 mL and you will get a meniscus that confuses the autosampler’s liquid-level sensor, or a vial that overflows when the septum is pierced. The shoulder of the vial is the fill limit, not the neck.
Never reuse a septum. The whole point of the puncture budget is that the elastomer reseals a finite number of times. A septum that has been punctured 15 times will leak, and the leak shows up as a drifting baseline and inconsistent peak areas, not as an obvious failure. I have seen RSD% on replicate injections climb from 0.8 percent to 4 percent purely because the septa were being reused.
Torque screw caps consistently. Hand-tightening varies from 0.2 to 1.5 N·m depending on the operator, which is enough to change the seal. A torque wrench set to 0.6 N·m is the single best investment for a lab that runs more than 100 vials a day. Over-torquing deforms the septum and causes coring; under-torquing causes evaporation.
Store vials capped and upright, and check the lot certificate for the expiration date. Glass does not expire, but the silanization and the septum do. I have seen silanized vials lose their deactivation after 18 months in a humid stockroom.
Troubleshooting checklist
When something goes wrong, work through this list in order. It is faster than guessing.
- Peak area RSD% above 2 percent on replicates: check septum puncture count, cap torque, and fill volume. A worn septum is the most common cause.
- Ghost peaks in the blank: check for coring (look at the septum under a loupe), check the vial lot for leachables, and run a solvent blank in a fresh vial from a different lot.
- Autosampler “no liquid” error: check vial height and fill volume. A vial that is 0.5 mm short or filled below the needle stroke will trigger it.
- Loss of basic analytes at low concentration: switch to silanized vials or add a competing amine to the diluent.
- Drifting baseline in GC: check septum bleed. Silicone septa bleed at high inlet temperatures; switch to PTFE/silicone or lower the inlet temperature.
- Visible particles in the vial: check the lot for glass lamellae (thin glass flakes from the forming process). Reject the lot and switch suppliers if it recurs.
- Sample volume loss over a long run: weigh a filled vial before and after. If loss exceeds 2 percent, switch to crimp tops or a tighter screw cap.
For chromatography-specific troubleshooting, the Restek technical resources are the most practical I have found, and the instrument vendor’s own method notes are worth reading before you blame the vial.
Where to buy, and how to qualify a supplier
Vials are commodity items with a wide quality range. The three things that separate a good supplier from a cheap one are dimensional consistency, lot traceability, and the willingness to send a certificate of analysis with the actual dimensions and the septum lot. Ask for all three before you place a first order.
I source most of my routine 2 mL and 4 mL glass from Lab Vials at labvials.com because the dimensional tolerances are published and the lots are traceable. For larger volumes and custom formats I use the Aijiren brand at aijirenvials.com, which has good coverage of the 9 mm and 13-425 formats and a reasonable lead time on non-standard colors. For VOA work, the 40 mL format is standardized and the VOA vial at voavial.com is the one I specify when the method cites SW-846.
Qualify a new supplier with a three-part test: (1) measure 30 vials from the lot with calipers and check the standard deviation on diameter and height; (2) run 10 replicate injections of a mid-level standard and check RSD%; (3) run a solvent blank and check for ghost peaks. If all three pass, you have a supplier. If any fail, you have a conversation.
Recommendation by workflow
For routine HPLC with UV or MS detection, specify 2 mL clear or amber glass, 12 x 32 mm, 9 mm short thread, PTFE/silicone septum, 0.6 N·m torque. Buy in 10,000-unit cases, request a certificate of analysis with dimensions and septum lot, and replace septa every 8 punctures. This covers 80 percent of what most labs do.
For GC and headspace, specify 2 mL or 20 mL crimp-top glass with butyl or PTFE/silicone septum, and accept that the vial is single-use. For trace metals or high-pH work, switch to PP or PTFE-lined vials and accept the leachable trade-off. For photosensitive analytes, amber is the default. For long runs, crimp tops beat screw tops on evaporation every time.
The vial is the cheapest component in the sample path and the one most likely to be the source of a data problem. Buy the format that fits the instrument, the material that fits the analyte, and the closure that fits the run length. Then measure the lot before you trust it. That is the whole guide.
References & further reading
Related resources from our lab consumables network:
- Lab Vials at labvials.com
- Aijiren Brand at aijirenvials.com
- Voa Vial at voavial.com
- Septa at septacaps.com
External references and standards: