
A 60 m × 0.25 mm × 0.25 µm DB-5MS column running a USP <467> residual solvents panel threw a reproducible peak at 7.83 minutes, area RSD 14% across six injections, that matched no target analyte and appeared in every solvent blank. The autosampler tray held 40 vials from a single lot. I swapped the lot and the peak dropped to below the integration threshold. A second lab reported the same peak on a different instrument with a different column, which ruled out the column and the inlet. That is a textbook case of lab vials ghost peaks, extractables and contamination coming off the closure, and it cost one lab three days of investigation and the other lab a full week before anyone thought to run the blank differently.
Ghost peaks are almost never mysterious once you know which material they come from and at what temperature that material starts to shed. The work is in isolating the source fast, and that means treating the blank and the placebo as diagnostic instruments, not formalities. I have run this isolation dozens of times across pharmaceutical residual solvent work, environmental volatiles, and semivolatile methods, and the sequence is the same every time.
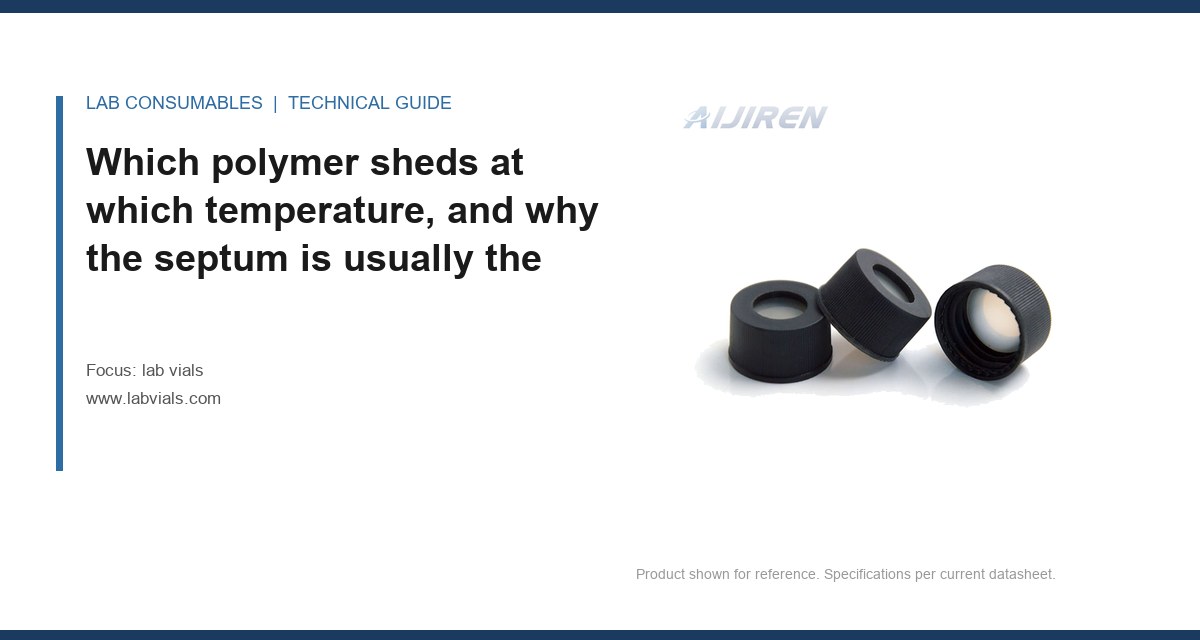
Which polymer sheds at which temperature, and why the septum is usually the answer
Every closure in a chromatography vial is a stack of polymers bonded or layered together, and each one has a different thermal ceiling. Push past that ceiling and you get extractables partitioning into the headspace and then into your column. The rate is not linear with temperature; a septum held 10 °C over its rating for 20 minutes can shed ten times what it sheds at its rating. I have mapped enough of these to give you a working table.
| Material | Practical upper limit (°C) | Dominant extractable class | Typical retention behavior |
|---|---|---|---|
| Silicone (PDMS) septum, no barrier | 200 | Low-molecular siloxanes (D3–D10), cyclic oligomers | Series of evenly spaced peaks, 6–20 min on a 5% phenyl column |
| Silicone with PTFE face | 250 (PTFE side down) | Reduced siloxane; residual cure byproducts | Small siloxane cluster, often below 1% of full scale |
| Bromobutyl rubber | 200 | Brominated additives, antioxidants (BHT, Irganox fragments) | Late-eluting broad humps, 15–30 min |
| EPDM | 180 | Paraffinic hydrocarbons, plasticizer | Unresolved envelope, baseline rise |
| PTFE-faced silicone (both sides) | 250 | Minimal; trace fluorocarbon | Clean, occasional single peak |
| Polypropylene cap shell | 120 | Oligomers, erucamide slip agent | Sharp peak near 12–14 min, sometimes mistaken for analyte |
Read that table against your method. If your headspace oven runs at 150 °C for 30 minutes and you are using an unbarriered silicone septum, you are extracting siloxanes the whole time. The classic siloxane signature is a ladder of peaks spaced by one Si-O unit, and on a 5% phenyl phase they land in a predictable cluster between roughly 6 and 20 minutes. If you see that ladder in a blank, stop looking at the sample. The D3 through D10 series will show up as seven or eight peaks with increasing spacing as the molecular weight climbs, and the largest of them is usually D7 or D8 depending on the column film thickness.
The cap shell matters more than most people think. Polypropylene at 120 °C releases erucamide, a slip agent added during molding, and it elutes as a single sharp peak that has fooled more than one analyst into thinking they had a contaminant in their standard. The peak is narrow, typically 0.02 to 0.04 minutes wide at half height, and it sits in the same window as a lot of semivolatile targets. If your headspace method cooks the cap, the cap is a source. Crimp-top vials with an aluminum seal and a bare septum avoid that entirely because the metal does not outgas. A 20 mm crimp seal with a 20 mm PTFE-faced septum is the configuration I specify for anything above 120 °C.
Glass is not inert at high temperature
Borosilicate is stable, but the surface chemistry is not neutral. Type I glass leaches trace sodium and boron at elevated temperature, and if the vial was washed with a detergent containing a phosphonate, you can get a phosphorus-containing peak that shows up in a phosphorus-specific detector at the low-ppb level. Silanized glass (the “deactivated” or “treated” surface) reduces adsorption of polar analytes, but the silanizing agent itself can leave a residue if the cure was incomplete. I have seen a trimethylsilyl artifact at 4.1 minutes on a DB-624 from a lot of treated vials that had a cure excursion. The fix was a 2-hour bake at 300 °C before use, and the peak went away. The lesson is that a deactivated surface is a coating, and a coating has a cure spec. Ask your supplier what the cure temperature and hold time are, and ask for the residual silanol test if the analyte is a polar compound at trace level.
Washing residue is the other glass-side source. A final rinse in deionized water that measures above 1 µS/cm conductivity will leave ionic residue that shows up in an ion chromatogram or a conductivity detector. I have traced a chloride peak to a rinse station whose water polisher had been offline for a week. The vial was fine; the wash was not. That is why the lot certificate should include the final rinse conductivity, not just the dimensions.
Running a blank that actually isolates the source
A solvent blank through the autosampler tells you almost nothing because it cannot distinguish the vial from the needle, the syringe, the inlet liner, or the carrier gas. You need a ladder of blanks, each one adding one component back in. Run them in this order and you will have your answer inside an hour.
- Instrument blank: no vial, direct injection or an empty loop. Establishes the baseline for the inlet and column. If a peak shows here, the vial is innocent and you have an instrument problem.
- Solvent-only vial, no septum contact: fill a vial, cap it, but do not pierce. Run it. Any peak here is from the headspace above the solvent plus the vial body. This isolates the glass and the cap shell.
- Solvent-only vial, pierced once: normal injection. Adds the septum puncture to the picture. Compare against the unpierced run; the difference is the septum contribution.
- Placebo: the sample matrix without the analyte, prepared in the same vial lot. This is the one that catches matrix-plus-vial interactions and surface adsorption.
- Vial lot swap: run the same solvent in a vial from a different manufacturing lot. If the peak disappears, you have your lot. If it persists, the lot is not the cause and you keep climbing the ladder.
The order matters. Run the instrument blank first, then the solvent-only, then the placebo, then the lot swap. Each step eliminates a variable. If the peak appears only at the pierced-vial stage, the septum is the source. If it appears in the solvent-only stage, the glass or the cap is the source. If it appears only in the placebo, you have a matrix interaction, and the vial is probably innocent. If it appears in the instrument blank, stop reading this article and look at your carrier gas purifier.
One more control that people skip: a septum-only injection. Take a septum, cut a quarter of it, drop it into a sealed headspace vial with no solvent, and run it under your method’s exact temperature program. The resulting chromatogram is the fingerprint of that septum material at that temperature. Keep it in your method file, named with the lot number and the date. When a ghost peak appears six months later, you compare against the fingerprint and you know in five minutes whether it is the closure. I have a folder of 30 of these going back four years, and it has settled every ghost-peak dispute I have been dragged into.
If you want a second confirmation, run the same septum-only vial at two temperatures, say 120 °C and 180 °C, and compare the peak areas. A material that is being thermally driven will show a steep increase, often a factor of five or more between those two points. A material that is simply present as a surface residue will show a much smaller increase. That slope is the difference between a thermal extractable and a contaminant that was already on the part.
What the placebo tells you that the blank cannot
The placebo is where adsorption and desorption show up. A polar analyte in a high-pH matrix can adsorb to an untreated glass surface and then desorb into the next injection, producing a peak that looks like carryover but is actually vial surface chemistry. The placebo run, with the matrix but no analyte, will show you the desorption peak if you inject it after a high-concentration standard. The measurement that identifies it is a peak that appears in the placebo only when the placebo follows a high standard, not when it follows a blank. That is a surface effect, and the fix is a deactivated vial, not a new column. I have also seen the reverse: an analyte that disappears in a treated vial because the deactivation layer absorbed it. If your recovery drops on a new lot of treated vials, run a placebo spiked at the low end of the curve and compare against the old lot before you blame the method.
The other thing the placebo catches is the interaction between the septum and the matrix. A bromobutyl septum in contact with a matrix that contains a brominated solvent can exchange halogen and produce a peak that neither the blank nor the standard shows. That is rare but it is real, and it only shows up when you run the matrix through the closure.
Three field cases where the vial was the source and the instrument was not
Case 1: the siloxane ladder at 180 °C
Symptom: A headspace GC method for residual solvents in a pharmaceutical excipient showed a series of seven evenly spaced peaks between 8 and 16 minutes, present in every blank and every sample, area increasing with oven temperature. The lab had already replaced the inlet liner twice and baked the column overnight. Measurement: The septum-only injection reproduced the ladder exactly. The septum was an unbarriered silicone, and the method ran at 180 °C for 25 minutes. The septum’s published rating was 200 °C, so the lab had assumed a 20 °C margin was safe. It was not. Fix: Switched to a PTFE-faced silicone septum rated to 250 °C, and the ladder disappeared. The method did not change. The lesson: the septum temperature rating is not a suggestion, it is a hard limit, and a 20 °C margin is not enough. I now specify a septum rated at least 30 °C above the method’s maximum oven temperature, and for long headspace cycles I push that to 40 °C.
Case 2: the erucamide peak that looked like an analyte
Symptom: A GC-FID method for a semivolatile analyte showed a sharp peak at 13.2 minutes, area RSD 9% across ten injections, that co-eluted with nothing in the standard but sat right next to the analyte. The analyst had spent two days looking at the column and the inlet. Measurement: The peak appeared in the solvent-only vial but not in the instrument blank, and it appeared only when the cap was polypropylene. A cap-only headspace run (cap shell, no septum, no solvent) reproduced it. The peak’s width at half height was 0.03 minutes, which is the signature of a single small molecule, not a polymer fragment. Fix: Moved to a crimp-top aluminum seal with a PTFE-faced septum, and the peak vanished. The erucamide was coming off the cap shell at the 140 °C headspace oven temperature. If you run headspace above 120 °C, do not use a plastic cap shell.
Case 3: the rinse residue that only showed up in one detector
Symptom: An ion chromatography method for trace anions in a pharmaceutical intermediate showed a chloride peak that varied by lot, area RSD 22% across the same sample, and the analyte itself was stable. The method used a 5 mL vial and a 0.22 µm filter. Measurement: The solvent-only vial from one lot showed the chloride peak; a vial from another lot did not. The lab pulled the final rinse conductivity records from the supplier and found the affected lot had been washed on a line where the water polisher had been offline. The rinse conductivity was 3.4 µS/cm against a spec of 1.0 µS/cm. Fix: Rejected the lot, and added a final rinse conductivity requirement to the purchase spec. The vial was dimensionally perfect. The wash was the problem. That is why the lot certificate has to cover the chemistry, not just the glass.
A decision checklist for the vial you should be specifying
When you are buying for a method that runs hot, the material choice narrows fast. Work through this in order.
- Method oven temperature above 150 °C? Use a PTFE-faced silicone septum on both sides, rated to 250 °C. No bare silicone, no bromobutyl.
- Headspace above 120 °C? Use a crimp-top aluminum seal. Polypropylene caps outgas erucamide. A 20 mm crimp with a 20 mm PTFE-faced septum is the standard configuration.
- Polar analytes or high-pH matrix? Use a deactivated (silanized) glass vial, and verify the cure with a bake test before the lot goes into production. A 2-hour bake at 300 °C should produce a clean blank.
- Trace-level work below 1 ppb? Pre-clean the vials with a 300 °C bake for 2 hours, and run a septum-only fingerprint on every new lot.
- Ion or conductivity detection? Require a final rinse conductivity below 1.0 µS/cm on the lot certificate. This is the single control that catches wash-line failures.
- Need to prove it to an auditor? Keep the septum fingerprint chromatogram and the lot certificate in the method file. A lab vials supplier that cannot give you a lot-specific extractables profile is a supplier you cannot defend in an audit.
The dimensional side of the same decision is covered elsewhere on this site, and it is a different problem from extractables. But the two share one requirement: the vial has to be specified against the method, not against the catalog price. A 9 mm screw-thread vial with a PTFE-faced septum costs a few cents more than the bare silicone version, and that few cents is the difference between a clean blank and a three-day investigation. The GPI 9 mm thread and the 20 mm crimp are the two configurations that cover most of the market, and both have a closure choice that determines your extractables profile more than the glass does.
What to do when the ghost peak is already in your data
If you are reading this with a contaminated run in front of you, the sequence is fixed. Do not change the column first. Do not assume the inlet liner. Run the ladder: instrument blank, solvent-only unpierced, solvent-only pierced, placebo, lot swap. Whichever step introduces the peak tells you the component. Then run the septum-only fingerprint to confirm the material. Then swap the lot and re-run the original method unchanged. If the peak is gone, you have your answer, and you have a fingerprint to compare against the next time. The whole sequence takes about 90 minutes of instrument time and it will save you days.
The one number I would put on a wall: a septum rated to 200 °C used at 180 °C has a 20 °C margin, and that margin is not enough for a 25-minute headspace cycle because the cumulative thermal exposure is what drives the extraction, not the peak temperature. Derate every septum by at least 30 °C from its published limit and you will avoid most of the siloxane cases I have seen. The septa you choose are the single highest-leverage component in the vial stack for extractables, and the temperature derating is the single highest-leverage decision you make about them.
For methods that run at ambient or near-ambient, the picture changes. Extractables are slower to appear and the dominant risk shifts to the glass surface and the washing residue. That is where a supplier’s wash validation matters more than the septum grade, and where an Aijiren lot certificate with a documented final rinse is worth asking for. If you are running volatile organic analysis, the same logic applies to the VOA vial you use for the aqueous phase, and the septum fingerprint is still the first control to run. The method references for this kind of work, including the container and holding-time requirements, are in the U.S. EPA SW-846 series, and the chromatographic side of the isolation is well covered in the technical libraries from Agilent, Thermo Fisher, and Restek. Those references will not tell you which lot to reject, but they will tell you what a clean blank should look like.
The decision rule, stated plainly
Specify the septum against the method’s maximum oven temperature minus 30 °C, specify a metal seal above 120 °C headspace, require a final rinse conductivity below 1.0 µS/cm on the lot certificate, and require a lot-specific septum fingerprint before any new lot enters the method. If a ghost peak appears, the ladder of blanks (instrument, unpierced, pierced, placebo, lot swap) identifies the component in under an hour, and the septum-only injection confirms the material. The vial is the cheapest component in the system and the one most likely to be the source. Treat the closure as a consumable with a thermal spec, not as an accessory, and the ghost peaks stop being mysteries.
References & further reading
Related resources from our lab consumables network:
- Lab Vials at labvials.com
- Aijiren Brand at aijirenvials.com
- Voa Vial at voavial.com
- Septa at septacaps.com
External references and standards: